Haircuts you can tie back start with a real requirement
Haircuts you can tie back are not one category of cut. They are cuts designed to pass your particular everyday test. A tiny low ponytail used while washing your face is different from a secure mid-height tie for a shift at work. A half-up style leaves the nape loose and may not solve the same problem at all. Before choosing the outline, describe the job: which hair must be contained, where the elastic usually sits, how quickly you need to make the style and whether you are willing to add pins.
Separate a preference from a non-negotiable. You might enjoy a few loose pieces on a day off but need a clear face at work. You might accept a low tie while losing the ability to make a high ponytail. Write down the option you use most, not the prettiest one you use occasionally. This gives the stylist a measurable constraint without banning movement, layers or a shorter overall shape. If everything must gather in one attempt, say that explicitly before discussing a fringe or a dramatically shorter front.
“Still ties back” needs a position and a definition: all hair, most hair, or just the top half?
Find the gathering point before the cutting line
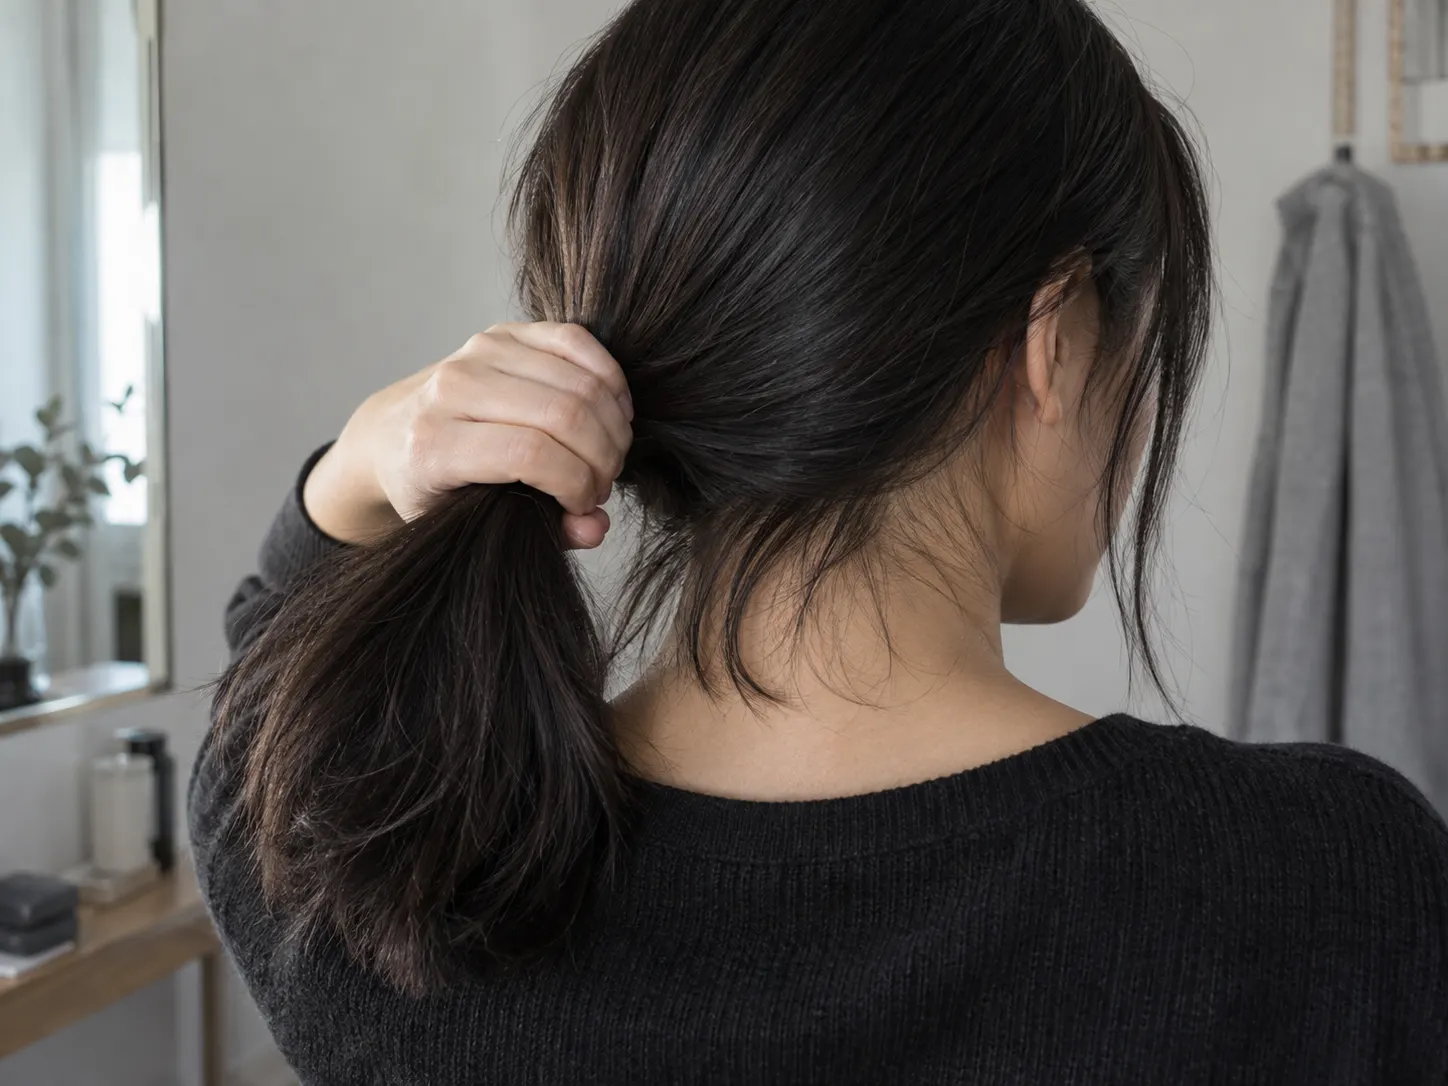
Stand with dry hair in its normal part and gently gather it where you usually place the elastic. Check a low, middle or high position only if you actually use it. Changing the gathering point changes the distance each section travels: the nape needs more reach for a high tail, while a front section has a different route to a low one. There is no useful universal number of centimetres that guarantees every ponytail on every head. Head shape, section placement and the remaining outline all affect the result.
Look at both sides and the back. Which sections barely reach your fingers? Which drop out as soon as you relax the grip? Those are the boundaries to protect. Photograph the gathering point from the side and back or ask someone to help you see it. Bring the ordinary elastic or clip you use to the consultation. The professional LOREN salon likewise recommends checking hair at the intended tie position. Treat a term such as shoulder length as a starting description, not proof that your shorter nape will reach.
- Choose the height you actually wear.
- Locate the front, nape and surface sections that only just reach.
- Repeat without pulling the roots tight.
- Record which loose pieces you can and cannot accept.
Preserve reach in the shortest layers, not only the ends
A haircut can finish below the shoulders and still refuse to gather neatly. Short crown layers, a deeply stepped front or a short under-section may stay outside the elastic while the longest ends make a convincing ponytail. Ask to identify the shortest layer in each important zone before it is cut. The question is not whether layering is allowed; it is where the shorter pieces will land and whether they still have enough length to join the bundle at your chosen height.
Longer connected layers can add movement without turning every morning into a pinning exercise. Shorter layers can give a different loose silhouette, but you may have to accept an intentionally messy tie or extra clips. Density matters too: removing a lot of bulk may reduce the size of the tail while exposing small pieces that previously stayed inside it. Discuss weight separately from length. Do not ask to keep all the length and then approve unrestricted thinning, because the outside outline alone does not describe what remains in the bundle.
Make a separate decision about the front and nape
Front pieces often look beautiful loose because they move independently. That independence is exactly what makes them escape a ponytail. Decide whether you want a fringe, a cheek-level frame, a tuckable piece or a front section that travels all the way back. These are different promises. Being able to put hair behind an ear does not mean it will remain inside the elastic. If your job requires the whole front away from the face, show the stylist the real tie rather than approving a short frame on the strength of a loose reference.
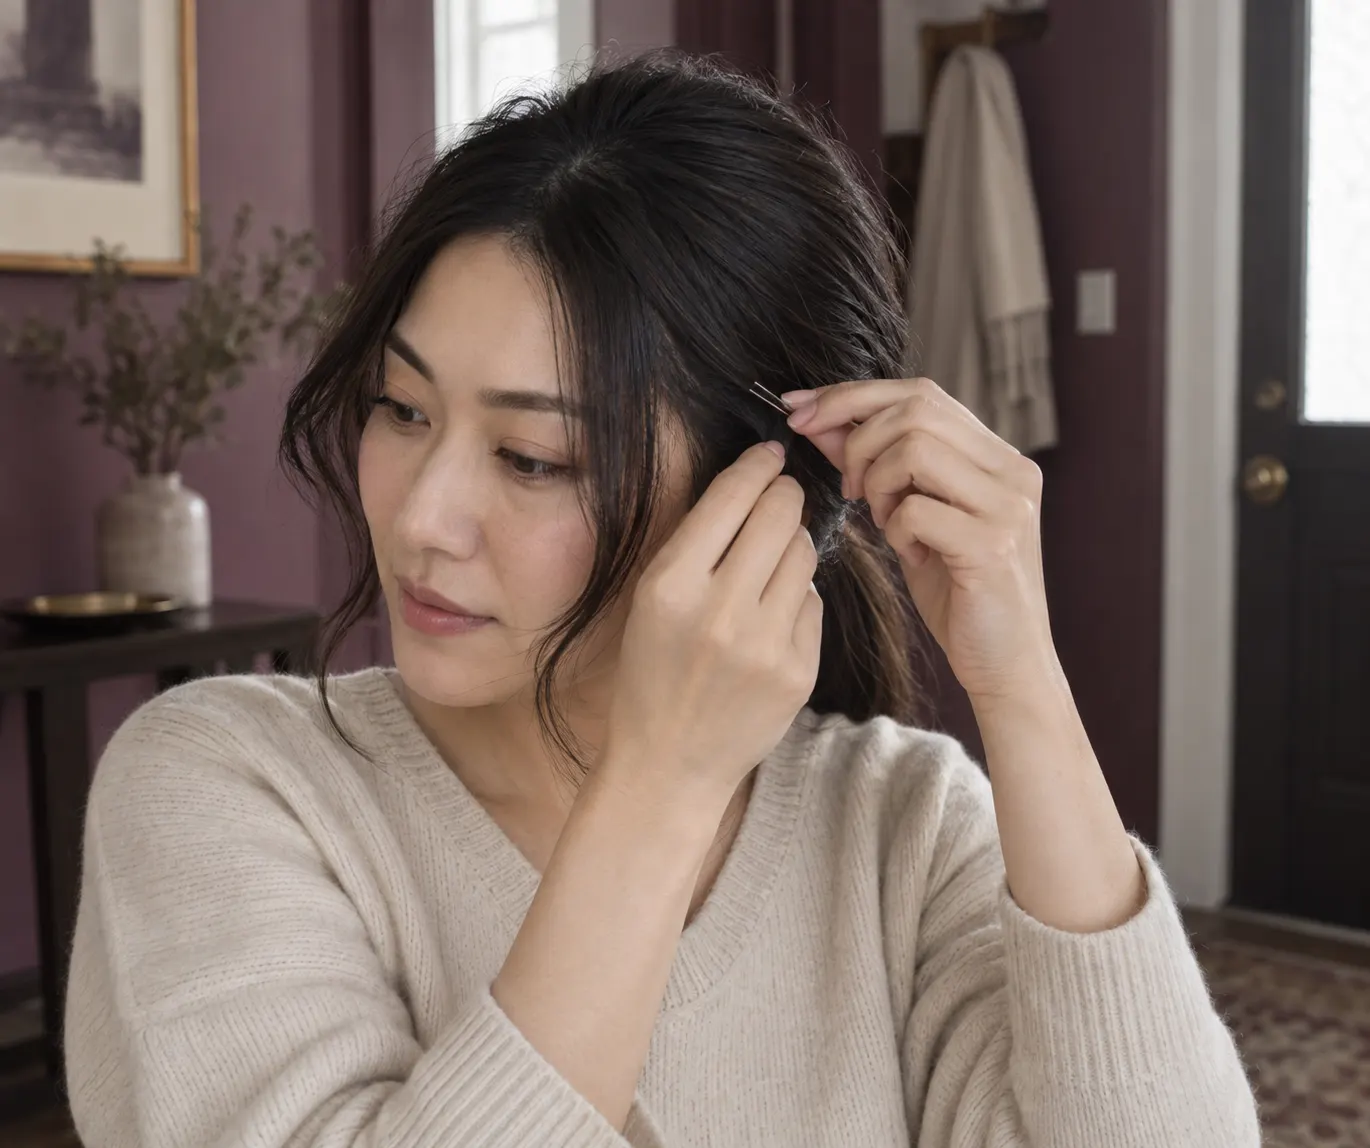
The nape deserves the same attention. An angled bob can look long at the front while leaving little material behind. A hidden short section may also behave differently once the hair is lifted. Ask to see the proposed back line and any undercut, graduation or shorter interior area. You can deliberately choose a pin-assisted version, but count that as part of the routine. If one discreet pin is fine and six are not, state the limit. Precision here prevents a functional disagreement disguised as a style disagreement.
Run the test in the texture you wear most
Use the dry state that represents most of your week. Hair that reaches when straightened or stretched may sit differently after it dries with waves, curls or coils. A fresh salon blowout can make the same cut feel easier to gather than an ordinary morning finish. You do not need a shrinkage percentage; you need to observe your own sections. If you switch between two textures, explain which one must pass the tie-back test and which can use an alternative arrangement.
For dense hair, check whether the accessory can hold the whole bundle comfortably. For fine or slippery hair, check whether it stays put without repeatedly tightening it. For curls, preserve the pattern rather than pulling every section straight to prove it reaches. A clip may work where an elastic does not, but only if you are happy using that clip routinely. An accessory change is a legitimate compromise, not evidence that the original request was fulfilled. Keep the test practical and avoid buying a collection of tools to rescue a cut you did not want.
Choose the compromise with your eyes open
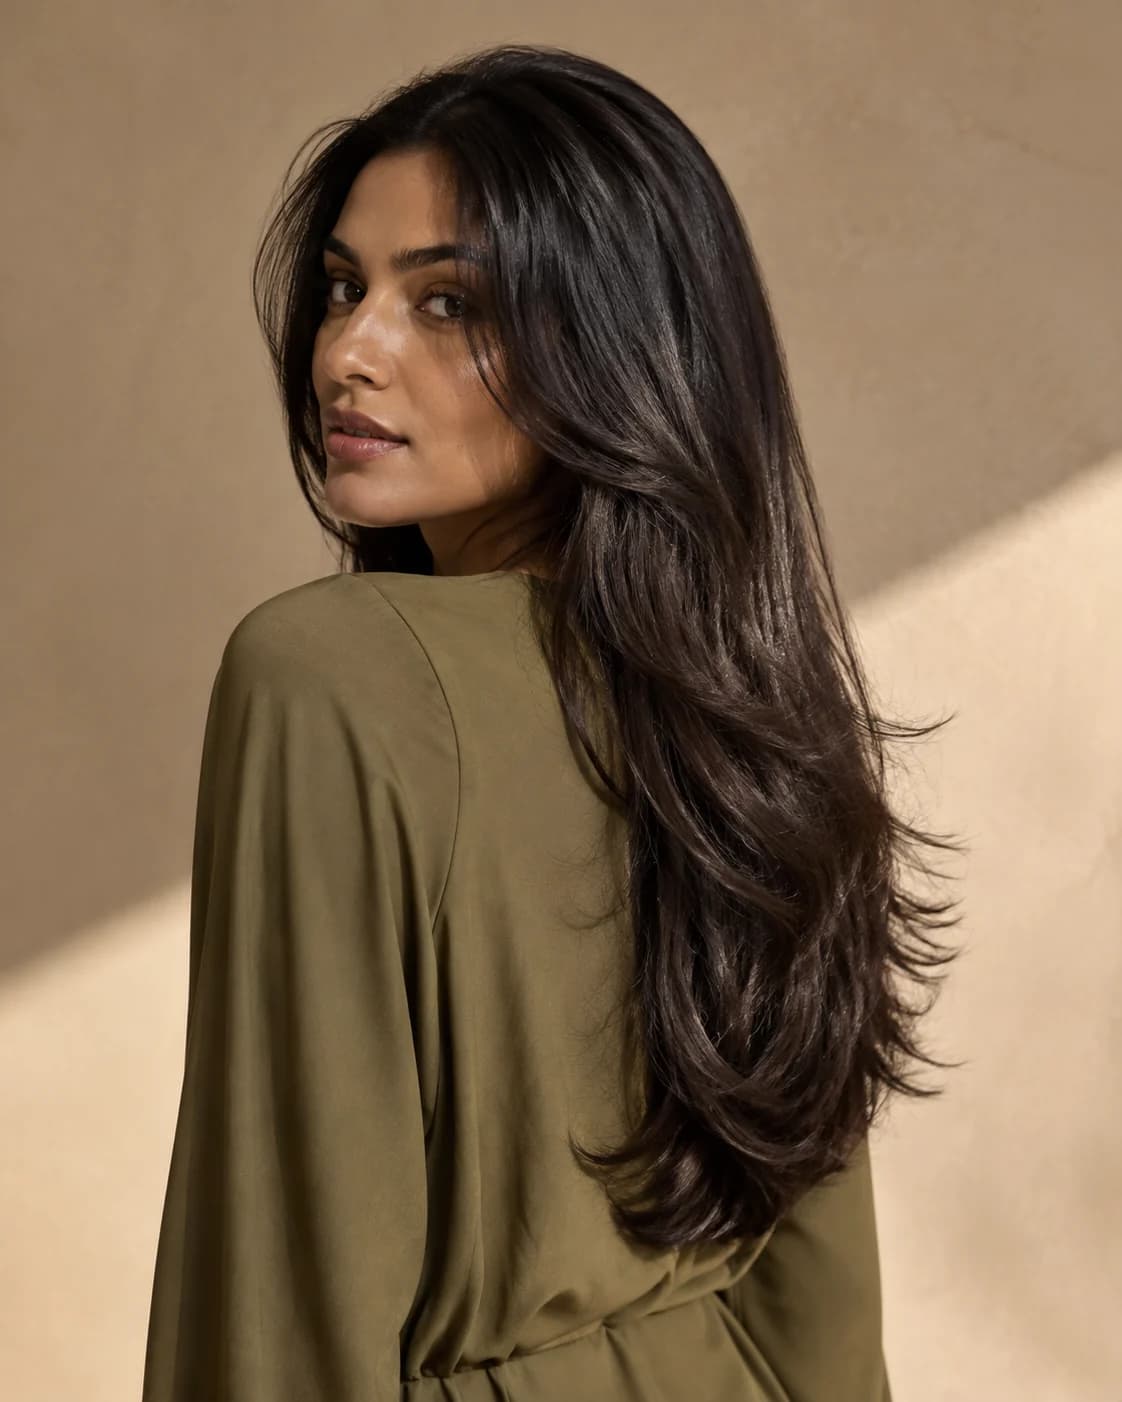
There are three credible routes. Keep more length and a relatively connected front for a straightforward full tie. Accept a shorter perimeter with a low ponytail, knowing that a high one may not work. Or prioritise the loose haircut and deliberately use pins or a half-up style when necessary. None is universally better. The right choice depends on whether wearing hair down or containing it occupies more of your actual day. Do not let a reference photograph quietly decide that priority for you.
Consider the next weeks as well as appointment day. A cut that only just reaches may need less trimming while you build a margin; a cut with deliberately short framing may require repeated pinning as those pieces grow. Ask what can be maintained without resetting the functional boundary. Protecting tie-back length may leave more weight at the front or a fuller lower edge than the inspiration picture. That is an honest trade-off. You can choose a softer outline, but do not expect a very short, highly layered shape and an effortless all-hair ponytail to be identical objectives.

Use a preview for the loose shape, not the reach test
Once the real hair boundaries are clear, a visual comparison can help with the remaining aesthetic question: do you prefer a longer connected outline or a shorter shape with deliberately loose front pieces? In Hair Muse, use the same clear photo for two restrained alternatives and keep colour and pose consistent. Save a small shortlist, then explain which part appeals to you. Do not treat a generated ponytail, hidden nape or polished front as evidence that your real strands will reach an elastic.
HairChapter and Hair Muse share a publisher. Hair Muse is free to download; some use or features may require in-app purchases. Its previews are planning aids, not a guarantee of actual density, length, grip, salon feasibility or the finished haircut. If a preview favours a short front that conflicts with your work requirement, keep it as a discussion image rather than a cutting instruction. The real gathering test has priority. You should be able to make this decision without an app; the image simply helps articulate a visual preference.
Ask for a dry tie-back check before you leave
At the consultation, show your usual gathering point, the sections that must stay in and the amount of pinning you accept. After the cut is dried in a representative finish, make the tie yourself with your normal accessory. Check the front, both sides and the nape. Turn your head, look down and sit back as you would in everyday life. If something escapes, identify whether the problem is the height, one section or the accessory before asking for more cutting; shortening another area cannot give an already short strand extra reach.
Comfort belongs in the test. Do not pull harder just to make the result pass. The American Academy of Dermatology advises avoiding persistent tight pulling and loosening uncomfortable tied styles. This is a styling boundary, not a diagnosis or a promise about hair health. Finish with a simple agreed plan: preserve the short section while it grows, switch to an accepted lower position, or use the pin you knowingly chose. A successful haircut is not merely one that can be forced into a tail once; it fits the way you intend to wear it.

Three terms that make this conversation clearer.
You do not need to prescribe technique. Use these words to describe the visible structure, name the behavior you want, and ask what your stylist would adapt.
Perimeter
The outside boundary of the haircut: the line you read around the bottom, sides, and overall edge. A compact perimeter usually feels fuller and more controlled, while a broken or highly layered perimeter can feel lighter, softer, or more textured.
SAY IT IN THE CHAIR“I like the movement, but I want the outside edge to remain substantial when the hair is straight or air-dried.”Open full definition
Layer map
A plain-language way to describe where the shortest layers begin, how quickly they connect to longer sections, and where movement or volume is intended to appear. Two haircuts with the same overall length can feel completely different because their layer maps differ.
SAY IT IN THE CHAIR“Show me the shortest layer, where it connects, and how much weight remains beneath it.”Open full definition
Silhouette
The complete outside shape a haircut creates when viewed as a whole: compact, rounded, triangular, elongated, wide, narrow, or deliberately irregular. It is often the most reliable feature to compare before discussing small details or a polished finish.
SAY IT IN THE CHAIR“I want this overall shape, but I am open to changing the internal technique for my hair.”Open full definition
Turn this guide into a decision.
Three honest answers are more useful than ten additional reference photos. Your responses stay on this page and can be changed at any time.
- 01Can you point to the exact structural detail you want from this cut?
Name the shortest point, outside line, layer map, or placement of volume.
- 02Have you named the boundary you do not want traded away?
Examples: tie-back length, full ends, an open forehead, dry length, or support for natural texture.
- 03Does the plan fit your real styling and maintenance rhythm?
Count ordinary mornings, fallback styles, trim frequency, and the way the shape is likely to grow.
The short answers.
What is the minimum length for a ponytail?
There is no single length that guarantees the same result for everyone. The shortest front, nape and layered sections must reach your specific gathering point in your usual dry texture. Test that position with the stylist rather than relying on a centimetre figure or a label such as shoulder length.
Can a bob still go into a ponytail?
Some can, especially at a low position, but an angled or short-nape bob may leave strands outside. A half-up style is not equivalent to containing all the hair. Show the intended height and ask which sections can remain long enough without changing the outline you want.
Do I have to avoid layers entirely?
No. Ask for the shortest useful layer to be planned around reach. Longer layers may preserve your tie-back while adding movement; short front or crown pieces may require pins. Decide whether that extra step is acceptable before agreeing to their length.
Can an app tell me whether the cut will tie back?
A visual preview cannot verify the physical length of each section or the grip of your accessory. Use it to compare the loose silhouette or front framing, then test the real hair with a stylist. A realistic-looking generated ponytail is not a feasibility check.
What if the new cut only ties when I pull it tightly?
Do not use extra tension to compensate for missing length. Try an agreed lower position or a comfortable pin-assisted alternative and discuss the short section with the stylist. If a style is uncomfortable, loosen it; the practical goal is an easy, comfortable tie, not a forced demonstration.
How this guide was built.
HairChapter separates haircut structure from styling, trend names, and medical claims. Our recommendations are decision tools, not universal rules: a stylist should adapt the direction to your starting length, density, pattern, condition, growth habits, and normal routine.
We do not claim that a photograph or AI preview can predict a finished service. Sudden shedding, patchy loss, scalp pain, persistent irritation, or an unexplained change in density belongs with a qualified medical professional—not a haircut guide.
Sources for health-related statements
- LOREN salon — tying back a layered bob A professional salon explains why the gathering position and shorter sections need an actual hair check rather than a length label.
- American Academy of Dermatology — tight hairstyles Expert guidance supports keeping tied styles comfortable and avoiding persistent tight pulling.